Farmhouse kitchen chairs: goodbye golden oak!
- Isaac Klein

- Feb 5, 2021
- 4 min read
Updated: Mar 10, 2023
This just might be the first blog I've ever written with only 3 or 4 photos! But don't you worry.....it still holds valuable information for those of you that are considering updating your golden oak dining set!
I recently wrote a blog about the table makeover that belongs to these chairs. Did you see it? You can check it out here.
Wood chairs with spindles are NOT my jam! Nope.....me no likey! But hey.....the before and after is remarkable......so I'm going to say the effort was worth it.
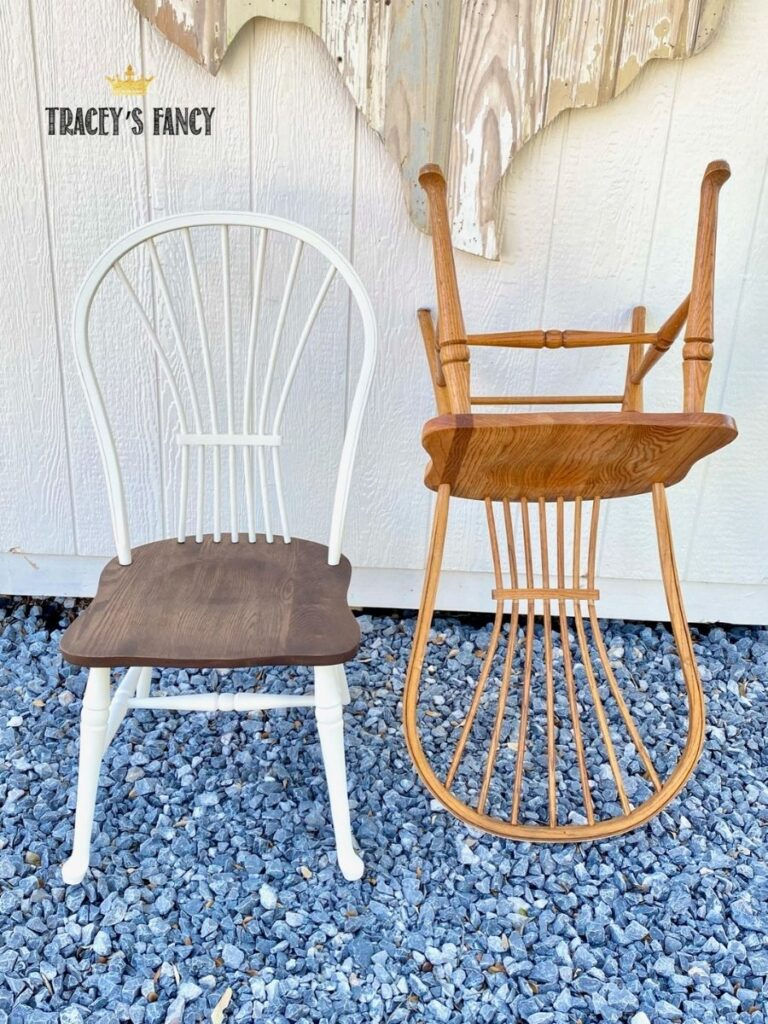
I began by cleaning all chairs with White Lightning really focusing on the back and legs....since those would be the painted areas. This removed all grime and grunge that had collected over the years.

I then applied Blue Bear stripper to the seat of the chairs. This stripper has VERY low fumes....almost not even noticeable....making it very user-friendly. I applied it thickly and let sit for about an hour. Within that amount of time.....it had congealed and was ready to be scraped off. I was able to remove ALL the shiny top finish. I then decided to reapply and leave on another hour and this time....after scraping, I was left with complete raw wood! That's what I was after!
I cleaned really well with White Lightning again....and allowed to dry. I then gave the seats a single coat of Verathane Pre-stain conditioner....to act as a primer prior to my gel stain. This just keeps your stain from being blotchy due to the variables in the wood grain. I let this sit for about 10 minutes...and wiped back all remaining with a paper towel.
PRO TIP: Tape off the bottom of each spindle where it meets the seat......to keep from getting gel stain on the spindles.
Now for the fun part.....No Pain Gel Stain in Espresso is my favorite stain offered by Dixie Belle Paints. It is oil-based....goes on easily....works quickly with amazing coverage....you can build your layers to darken....wipes back easily....and dries to the touch quickly. It's also magic ....as you can use it directly on top of a factory finish. But that is not the look I was going for here....so I chose to strip the seats.

I applied a liberal coat of stain (wear gloves and work in a ventilated area or wear a mask)....and let it sit for about 15-20 minutes. I then wiped back any and all excess to reveal this gorgeous rich coffee-colored seat!!!
That's it! It's that easy! I let this dry for 72 hours and then gave it a protective topcoat of Gator Hide for a low sheen and hardy finish that will last for years!
Immediately after staining, I removed the tape from the spindles.....and began priming the chair back and legs. I recommend using a 1/4" angled brush to paint the spindles where they meet the stained seat. The angles brush gives you control as if you are cutting in from a wall to ceiling. I then switch to a 1" flat brush to paint the rest.


I primed in Boss Gray...even though I was planning to use Dixie Belle's Silk paint which has a built-in primer and topcoat. Kitchen chairs suffer lots of abuse and I wanted to make sure they had as much adhesion as I could possibly give them. I let the Boss dry overnight.
I then began applying the actual paint using the same brush technique I mentioned above. I applied two thin coats of the beautiful Silk paint in Endless Shores which is a gorgeous off-white after giving the first coat ample time to dry.
PRO TIP: If you prefer Dixie Belle's chalk-mineral paint....the match to this color is Drop Cloth.
The Silk paint does not require a topcoat......so this is the end of this project!!!! The farmhouse kitchen chairs...and the matching kitchen table is complete! Yep.....you just paint.....and enjoy! Isn't that a beautiful thing?
The skate photo is a private joke from my FB/IG post about these chairs.....do you follow me there?
Click to follow --> FB @TraceysFancy and IG@TraceysFancy
If you need more photos.....how about a full video playlist of me doing everything that I just mentioned on these farmhouse kitchen chairs. Would that help? I have that for you over on my YouTube channel.....and will you please please please subscribe to my channel while you're there?
The video below is just ONE of five videos where I demonstrate each steps of the process. Click HERE for the full playlist!
https://youtu.be/tSKGymd_wGk
You will need to be signed in to your YouTube account first....and then hit the red "subscribe" button.
I wish you all the best if you plan to paint your spindles. LOL! Oh come on......it's really not that bad! Just turn on some good music...music makes everything better!
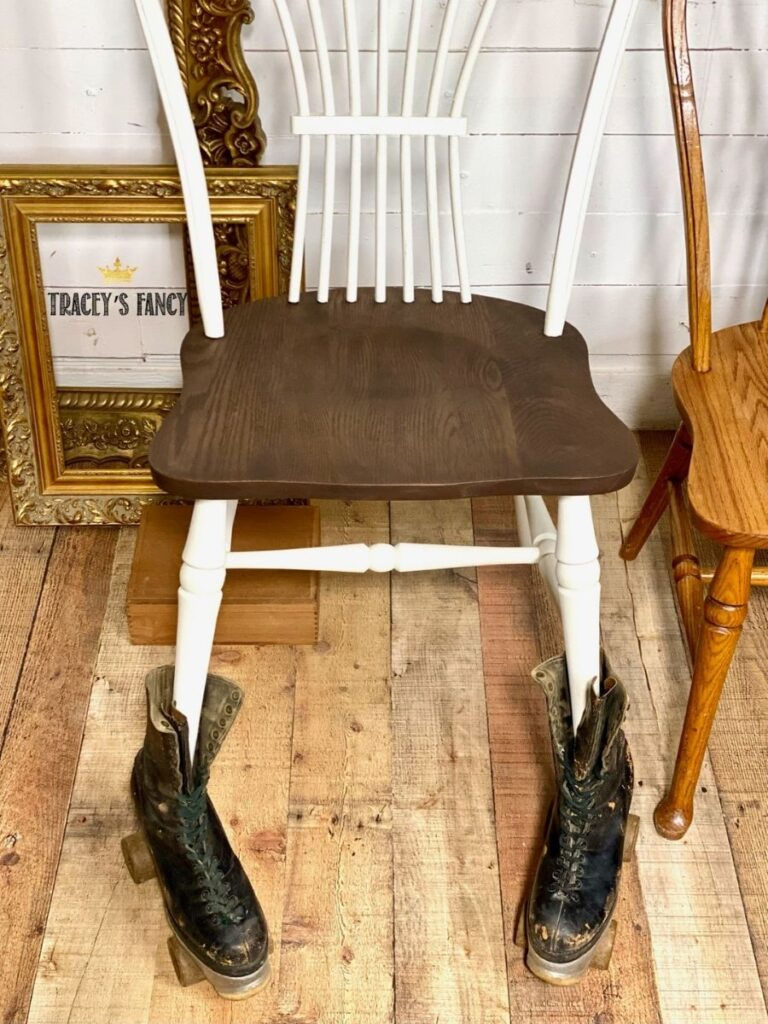
And remember...visit my blog with the matching farmhouse table ...it has some beautifully carved details along the trim that you don't want to miss.
Chairs...chairs...and more chairs...
Wooden Farmhouse isn't the only chair design up my sleeve. I also have painted fabric chairs like my mermaid chairs or my giraffe/zebra chair....and my upholstered cheetah dining room chairs. And so many others...as always, click on any picture below for detailed steps and more photos.
Shop: Farmhouse Kitchen Chairs
The products listed here are what I used for these farmhouse kitchen chairs project! Dixie Belle Paint company offers amazing products that will make all of your projects successful no matter what your skill level! Just click on any of the products shown below! You can also find my favorite products and tools in my Amazon influencer list here.
Here's how it works...these products are attached to my name. When you purchase by clicking from my blog.....then Dixie Belle offers a kickback to me for referring you! It doesn't cost you any more to use my links....and the support helps me to bring you new projects! So I thank you in advance!!!
See you next week!
XOXO,
Tracey

Please share my farmhouse kitchen chair pins and follow me on Pinterest!



Comments