

Whimsical Salt & Pepper Grinders
- Mar 6, 2022
- 4 min read
Updated: Jun 24
It's no secret that I love any and all things black and white with checks and stripes! I saw a set similar to the one I painted selling for over $400!!! I knew I could create something even better for a fraction of the cost.

Before: Wooden Thrifted Salt & Pepper Grinders
I came across these wooden pepper grinders and the salt shaker at my local Goodwill. I knew the minute I saw them that they were mine and I couldn't grab them fast enough! I also found two more wooden knife blocks as well as a jumbo wooden "fork/knife/spoon" set that I plan to paint in this same style... but that is another day!

Watch this week's Whimsical Salt & Pepper Grinder YouTube video
For those of you that enjoy watching the entire process..... my Fancy team has created a YouTube video that allows you to see every step in order. You can find that HERE:
Supplies Used
You can also shop my favorite products and tools in my Amazon influencer list here.

This post may contain affiliate links. I could make a commission at no charge to you if you purchase my recommended products. Please read my disclosure here and my privacy policy here.
Just as when prepping a piece of furniture..... I cleaned each grinder with White Lightning to remove all dirt and grime. I then primed each one with Dixie Belle's Boss in White. I actually applied two coats of primer...... to both color block and prepared for heavy use as I expect this grinders will get. (I removed the top of each grinder and painted them separately)
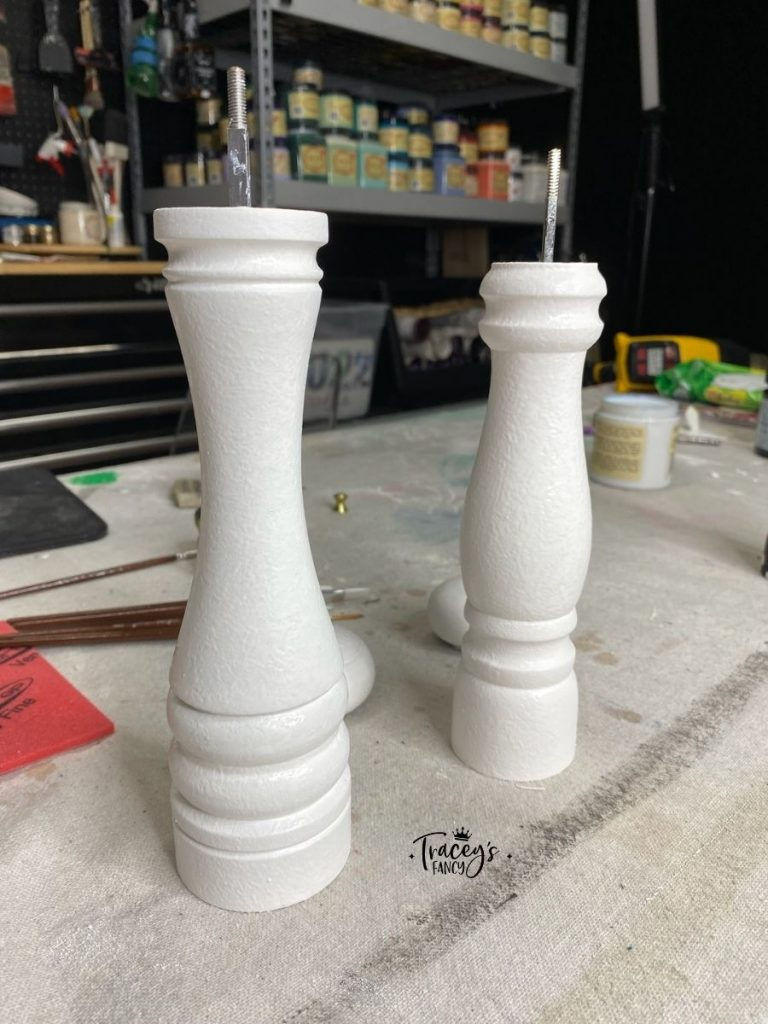
I followed the primer with a single coat of Silk in Saltwater. Silk is an all in one paint with a built in primer and top coat. So why two coats of primer or any primer at all? Mostly for color blocking in this case. Going from dark wood to white is the most difficult color transition there is when painting. So by using BOSS primer to block color.... twice..... I then only needed one coat of paint. I used my stippling technique when applying both the primer and the paint. I usually do this on my smaller projects and especially on pieces that will get heavy use. In my opinion it offers the best adhesion.

Once dry, I began my design work on the small rounded top portion first. I drew out my design using a sharpie marker. When working in a circle and planning to rotate between two colors.... it is important that you create an even number of spaces. I do this by dividing the circle in half, and then fourths.... then eights and then sixteenths! I have a really easy way to do this which I explain in the YouTube video.

Super tip coming at you right now!
I then use a rubber band to mark off my horizontal line that goes around the circle! Genius right? I do this with Christmas ornaments too! Just place it around the ball and draw your line with pencil. I then remove it and draw over my pencil with a sharpie. I then use that line as my guide and hand draw the ones above and below it. Again.... the YouTube video catches a few more tips for this process too!

I then moved onto the body of the whimsical salt and papper grinders. I chose stripes for all three as that is how the originals were painted. I found this photo on Horchow.... and it is what I used to guide me in creating my own.

I used a sheet of paper as my straight edge to trace. The flexibility of the paper allowed it to curve over the shape of the body.

The base of each grinder is different. I painted two with checks and one with polka-dots. The ones with checks.... I just drew the vertical lines by free-hand. I then traced out all my pencil lines with sharpie marker... this keeps the pencil from smearing.

For my horizontal lines on the base.... I used the rubber band method as I explained above.

Now that all lines are drawn.... it's time for the therapy of tiny detail painting!! Just choose your favorite tiny brushes and begin filling in every other square and stripe!

With the top completed you can move on to the body!

Even though these large black sections will be covered in gold.... I like to base them in Anchor black first.


With all the stripes complete..... it was time to sprinkle in some polka dots. I used the Saltwater white and the back end of a paint brush to strategically place my dots.

Choose your favorite gold paint and embellish the rings above and below the body as well as the topper screw!


Once dry..... you can apply your top coat of choice. I am using Dixie Belle's Top Coat in Satin. I plan to coat these in Gator Hide for waterproof protection when my Gator Hide stock is replenished. For now the Satin Top Coat will work just fine!

Here they are! These whimsical salt and pepper grinders are ready to be reassembled and have their official photo shoot! I am so excited!!!!

And here they are!!!! My Goodwill wooden salt shaker and pepper grinder!! I just saved myself about $390..... AND had a blast doing it! I hope you feel inspired to give this a try! I plan to do the knife blocks in this same pattern for you very soon!
More Inspiration


Tutorial Suggestion for other small items:


How did you clean the interiors to make sure they were suitable for use?
They look great- love you inspiration. Thanks
Hello do you sell the checker painted knife block holders?
I adore these so much!! I will now be looking for salt and pepper grinders to paint.
Wow, genius solutions of use of rubber bands for marking horizontal stripes…and flexible paper for vertical stripes over bulges… solved the painting problems. How clever. Thank you for posting.
That is just amazing. I keep going back to look! The transformation alone is a big deal. But your careful painting! Soooo pretty.