

8 Practical Tips for How to Use Gel Stain on Raw Wood: Heart Shaped Wooden Bowls
- Feb 8
- 4 min read
Learning how to use gel stain on wood doesn’t have to be intimidating. This simple project shows just how easy—and fun—it can be.
Hello! My name is Tracey....and I am a painter. Meaning I use paint on everything.
I am not a refinisher or a restorer.....far from it actually. I paint.
However, sometimes a project comes a long that requires stain, and I can also do that!
I don't use it often....but every time I do....I wonder why I don't use it more?

If you are a new reader, hello and welcome to the Fancy Fam! With over a decade of furniture painting experience, I can honestly say that sharing my projects through this blog is still my favorite way to inspire! I've got years worth of fun and creative ways to update your home decor and furniture through paint! If this sounds like something you'd like to have delivered to you every Sunday be sure to sign up for my weekly newsletter here!
Supplies Used: Gel Stain Heart Shaped Bowl
Applicator Pad
Pencil
Ruler
You can also shop my favorite products and tools in my Amazon influencer list here.

This post may contain affiliate links. I could make a commission at no charge to you if you purchase my recommended products. Please read my disclosure here and my privacy policy here.
How to Use Gel Stain on Wood
1. Choose the Right Stain & Prep Safely
My favorite stain on the market is a gel stain by Dixie Belle. It’s a gel-cream consistency and very easy to use.

Dixie Belle just introduced three new shades to their collection. For this project, I used Dixie Belle’s No Pain Gel Stain in Chestnut.

I tried it on this set of raw wood hearts to feature the new color....to show its versatility....and to be honest....to decide if I want to freshen up my giant nightstands with this shade. I think it's a yes!

Because it’s oil based, be sure to wear gloves and work in a well-ventilated area. I also like to stir the stain before applying.

2. Pick Your Applicator
I recommend using a chip brush or something you don’t mind throwing away, as gel stain is almost impossible to wash out (unless you use Scrubby Soap).

You can also apply it with an applicator sponge or even a cloth.
3. Apply Gel Stain Liberally, Then Wipe Back
Apply the stain to your surface generously and then wipe away any excess. Do not skip this step!

Anything the wood does not absorb must be wiped away or the stain can remain sticky or take forever to cure.

4. Adjust the Color if Needed
If you want a darker finish, you can apply additional coats—just remember to wipe away the excess with each application. For these hearts, I only used one coat.

5. Allow Proper Dry & Cure Time for Gel Stain
The no pain gel stain will be dry to the touch in about 6 hours and fully cured within 30 days.

6. Decide on a Top Coat (Optional)
No top coat is required, but you can apply one after 72 hours (3 days) if desired.
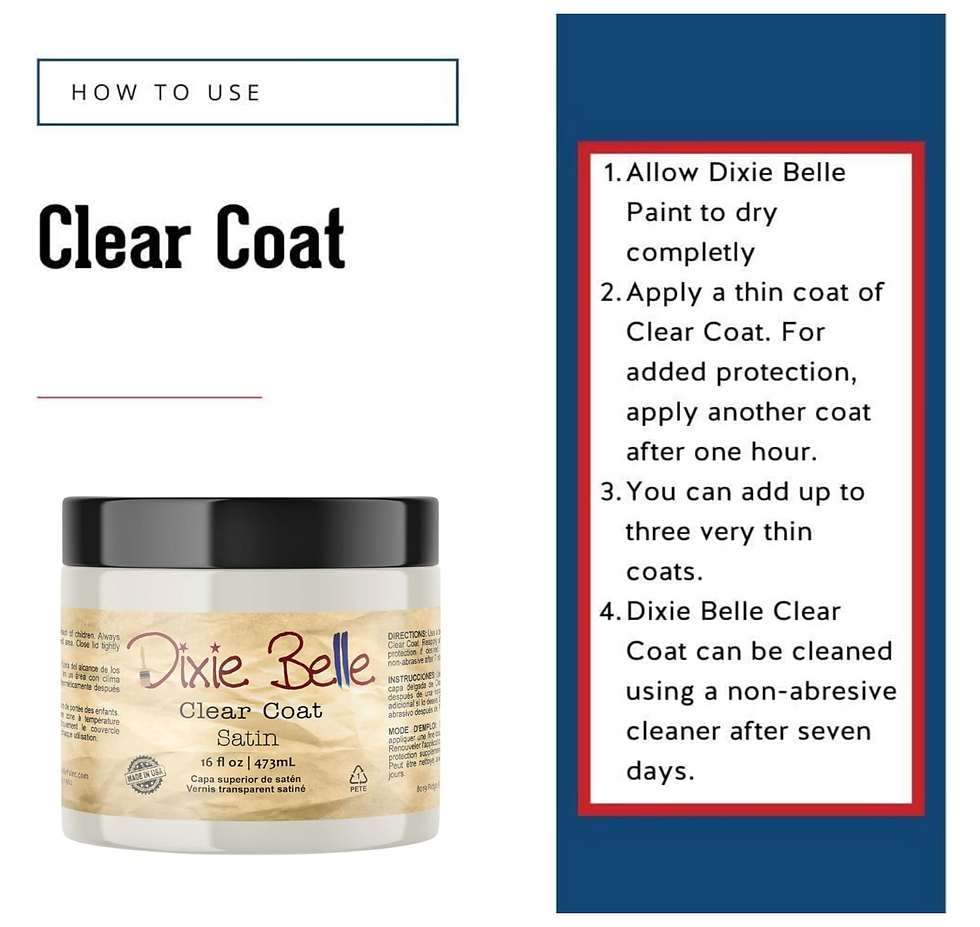
I did not top coat the hearts, but should I choose to do so I will use Clear Coat in Satin (my fave).
If the piece will come into contact with food, seal with a food-safe resin or Hemp Oil.

7. Get Creative with Stain
I thought it might be fun to go a little whimsical with the stain and to also showcase that you can actually "paint" with stain!
I used painter's tape for stripes on one piece...


....and drew a checkered grid on the other.


I LOVE how they turned out!!
Just remember—you still need to wipe away excess stain from each section, even small squares, to avoid smearing. I did this with my finger tip and the rag....and just wiped each little square one by one. I didn't want the stain to smear onto the raw checks......so it was worth the extra effort it took!
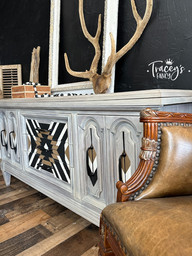
The Finished Look: Gel Stain Heart Shaped Bowls
I plan to give these to my big kids... a "catch all" bowl made with love... perfect for Valentines Day!

Next up... my nightstands!
Just kidding... not NEXT up.... but soon!
More Inspiration: Stained Wood Projects
I pulled a few blogs from past projects that came to mind when working on this piece! I hope you can use them to draw inspiration for your upcoming project. Here are the additional designs for your inspiration:
DIY Lazy Susan - a fun kitchen home decor (with satin) in less than 15 minutes
Southwestern Dresser Makeover - faux bleached wood design
DIY Wooden Surfboard - a really fun FB marketplace makeover
Whimsical Old World China Cabinet - how to eliminate orange wood tone with stain
DIY Farmhouse Kitchen Table - transform your outdated golden oak table into a show-stopping piece
Click on any photo below for more up-close photos and all the design details


JOIN ME FOR MORE...
Curiously Creative
If you enjoyed this and want more of a deep dive into home decor and DIY processes, I would love it if you joined my exclusive online creative group, Curiously Creative. I show up LIVE to guide you through every step of updating, upcycling, crafting, and creating on-trend home decor and gift-giving ideas!

Better Together
Join Matt and me every Wednesday night for LIVE thrift flipping! We offer weekly LIVE videos (Wednesdays at 7 pm cst) on Facebook as we upcycle and dress up items we find from our local thrift shops using paint and other upcycling materials..... as a way to network with others while settling into our new empty nesters lifestyle.

Want more fancy furniture & design?

Save & Share on Pinterest!
Please share my How to Use Gel Stain on Raw Wood Tutorial and follow me on Pinterest!


Comments