Checkerboard Creation
- Isaac Klein

- Jul 22, 2021
- 3 min read
How to tape-off and paint checkerboard pattern
I am asked this question more than any other question on regular basis...... and it's taken me years to finally write a blog about it! How do you tape off and paint the checkerboard pattern? It is my preference to draw and paint without the presence of tape. However doing so takes a lot of patience and a steady hand and it's just not for everyone! So I am describing the process in this how-to for checkerboard blog. I have also created a YouTube tutorial covering the same topic.
This pattern can be done on any surface... but I recommend using a flat surface for your first checkerboard taping go-round!
Let's get started:
Paint your base coat (or lighter of two colors) first. My lighter color is usually a white..... in this case it is Sawmill Gravy and let dry.

Choose what size tape you want to use. Your tape size will determine the size of your check. I am using 1" tape here. Place your tape horizontally using a single piece of tape as a spacer and move that spacer every line to keep your spacing even.

Now lay your vertical tape using the exact same spacer method and this will leave you with a grid of squares.

You can now burnish your tape edges using either a clear coat or the same color as your base coat (mine is Sawmill Gravy). This should be a VERY THIN coat of paint applied to the edge of of all the tape. This seals off your edge so your next contrasting color does not bleed under the edge of your tape. This is an extra step but assures you crisp lines every single time!

This is what it will look like after all edges have been burnished.

Now paint your contrasting color on all open "un-taped" squares. You can just paint a solid row of the contrasting color. I used Dixie Belle's Gravel Road chalk paint.

You can now immediately remove all tape. Do this gently so not to pull any paint away with the tacky tape.

This is what you will see and this is your half-way point.

It is now time to repeat this same process..... but this time you will tape OVER the black squares using them as guides for your taping process.

Tape both horizontally and then vertically and it will look like this.

AGAIN.... burnish all your edges with your lighter base coat color.... and once dry..... paint your contrasting darker color over all open squares in rows.... just as before. Remove your tape immediately and this is what you will have created! So, this is your how-to for checkerboard.

Recap!
It's like magic!!! It never gets old! I love removing the tape and seeing the full checkerboard pattern!
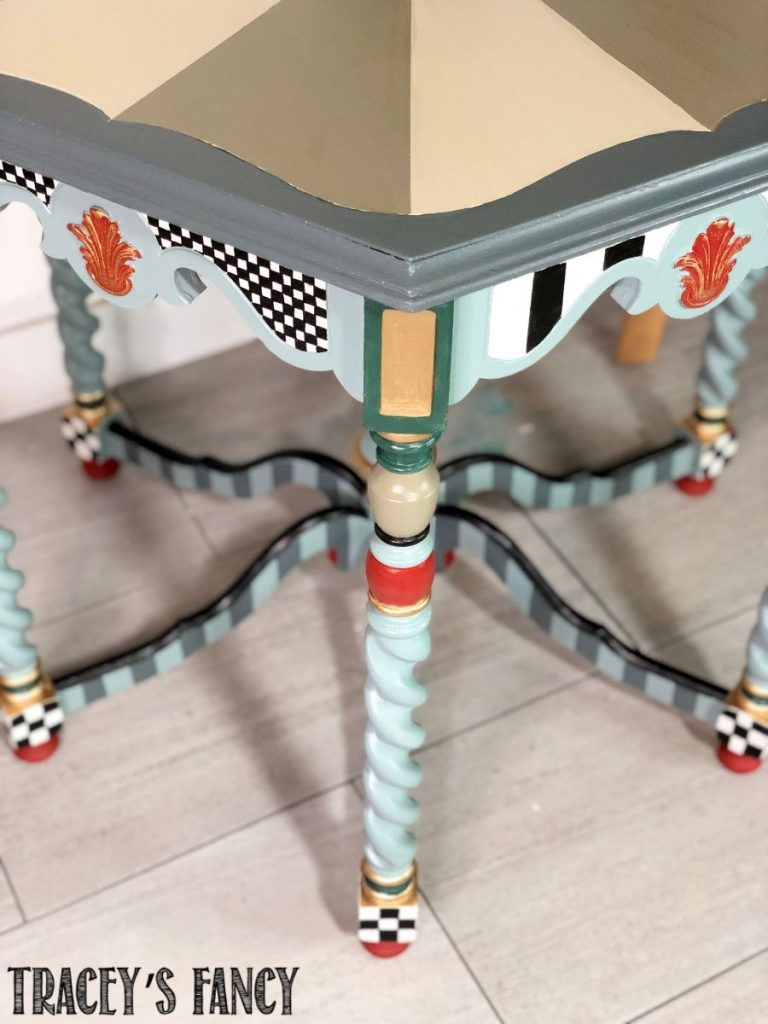
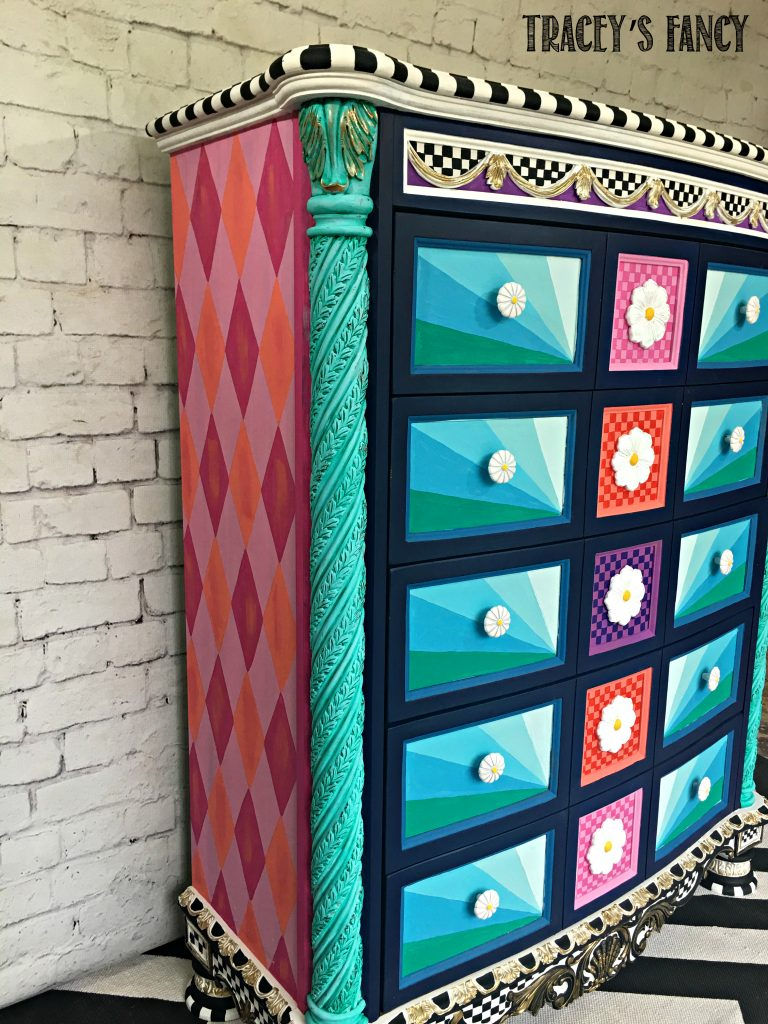
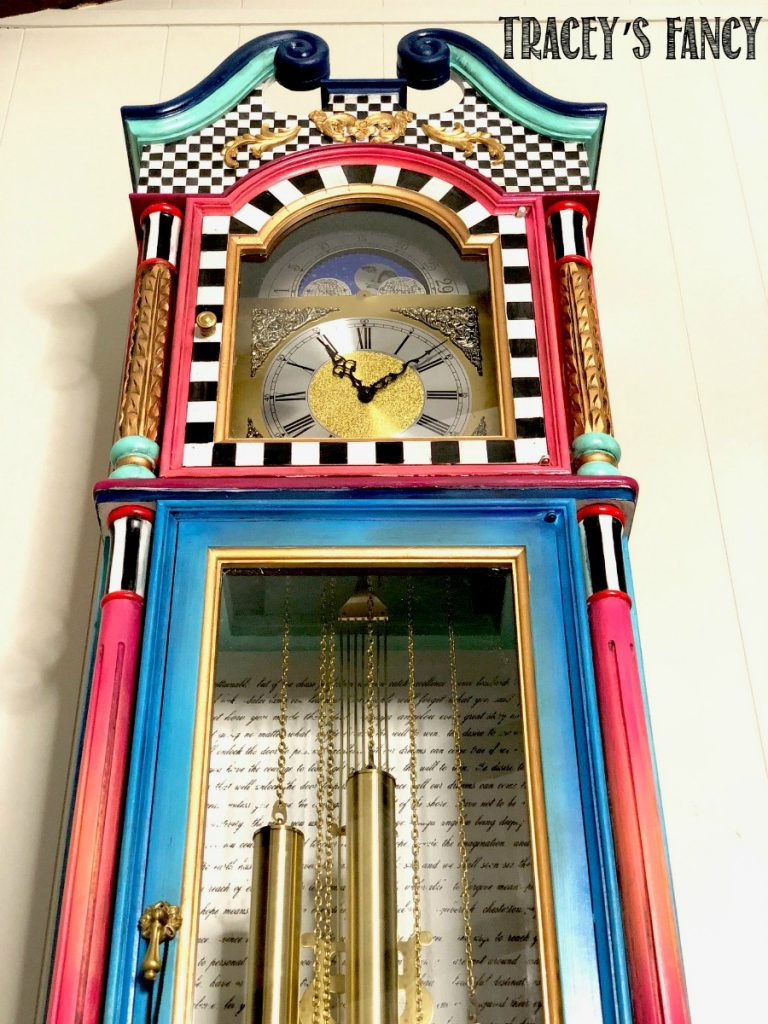
I use this pattern on SO MANY furniture pieces as it adds character, personality and FUN every single time! I hope you will try this process at least once! It really is so easy! Remember.... there are other ways to do this..... ~measure/draw/paint ~tape/paint ~stencil (Dixie Belle now offers the Whimsical Check which is their version of checkerboard) but could easily be used for the full on checkerboard pattern. You can find it below in the shop section!
I'll be back soon to share this finished piece.... which I'm having a blast creating!!!
XOXO, Tracey
Shopping Cart
For your convenience, the products listed here are what I used for the Checkerboard Tutorial! Dixie Belle Paint Company offers amazing products that will make all of your projects successful no matter what your skill level! Just click on any of the products shown below! You can also find my favorite products and tools in my Amazon influencer list HERE.
Here's how it works... these products are attached to my name. When you purchase by clicking from my blog..... then Dixie Belle offers a kickback to me for referring you! It doesn't cost you any more to use my links.... and the support helps me to bring you new projects! So I thank you in advance!!!
I'd love for you to follow me on Instagram, Facebook, Pinterest or YouTube to see all my creations first!! And as always, sign up to get my blog newsletter HERE to see more of my fancy furniture creations, unique art designs, room makeovers and insight into my design process!
Tutorials:
Other Similar Projects with How-to for Checkerboard ideas:


Checkerboard Tutorial:
https://www.youtube.com/watch?v=nO5UBOYjkgk
Previous Pink Nightstand tutorial:
Last week was part 1 of the Pink Nightstand. You can click to that blog HERE and start from the beginning of this project.


Comments