

Whimsical Emerald Green Checked Salt and Pepper Grinder
- Jul 6, 2025
- 5 min read
Well this was fun!!! Why have I not painted salt and pepper shakers/grinders in any other color than black and white before???
I am so thankful for YOU....my clients....that regularly request custom pieces that push me into new directions! I love how these emerald green checked whimsical salt and pepper grinders turned out!

If you are a new reader, hello and welcome to the Fancy Fam! With over a decade of furniture painting experience, I can honestly say that sharing my projects through this blog is still my favorite way to inspire! I've got years worth of fun and creative ways to update your home decor and furniture through paint! If this sounds like something you'd like to have delivered to you every Sunday be sure to sign up for my weekly newsletter here!
I LOVE to paint salt and pepper grinders!
I find them often in the thrift shops and I never walk away from them. They make the best gifts... and to think you can customize them for anyone's decor!
Many of you have sent me photos of painted sets that you've painted and I just love to know that my blog was helpful to you!
If you haven't seen my original blog (which happens to be one of my most visited blogs) you can see it HERE.
Supplies Used: Emerald Green Salt and Pepper Grinder
You can also shop my favorite products and tools in my Amazon influencer list here.

This post may contain affiliate links. I could make a commission at no charge to you if you purchase my recommended products. Please read my disclosure here and my privacy policy here.
Emerald Green Checked Salt and Pepper Grinders
Introducing the emerald check... requested by my client... and she will be giving them as a gift to someone very special!

To start, clean REALLY well with White Lightning and rinse. The pre-owned sets often have years of kitchen grime on them. You can also order new sets if the pre-owned seems weird to you. I recommend the wooden sets... they are easier to paint on.

I paint a base coat of primer using Bonding Boss in white. I usually do 2 coats of this.... allowing that last coat to dry overnight.

My base coat color is usually Fluff and I only do one coat and allow to dry.


Now they are ready for the checked design!
How to Draw Perfect Checks On Odd Shaped Objects
It is here that you need to draw out your design. When using black and white paint, I draw in pencil and then trace with a sharpie marker.
PRO TIP: DO NOT use a sharpie marker when painting in any color other than black. To trace out this design I just used a pencil. You can also use a colored pencil that is close to your paint color.
My pattern for the emerald was solid checks.....easy peasy!
I draw my vertical lines first - making sure to use an even number.

I also use a piece of paper as my guide to trace against as it bends easily with the curve of the shaker.

I then draw my horizontal lines.
For this I usually start in the middle....draw my line around...and then work my way down and up from there....making my checks whatever size I want.


The pencil lines will easily smear if you aren't careful....which is fine....you can erase away any smears once you are finished painting your checks.
But if that bothers you, you can use an aerosol setting spray (meant for charcoal artist) that dries quickly and will keep your pencil from smearing.
Achieving the Incredible Emerald Color
For this gorgeous emerald color, I chose to double load my brush with two colors for each check. I wanted a "washed" look... slightly sheer... brushstrokes showing ON PURPOSE... and with a nice two toned look.

To achieve this, I used Midnight Green (Silk Paint) and Peacock (Chalk Paint). I double dipped my brush for each check... heavy in the green and only a tap of the blue... and then just filled in the check letting the two colors blend naturally.

I only did one coat on each check. I could NOT be happier with the final finish! I realize the washed look is very different from my black and white shaker sets... but this is exactly what I was after.... and I plan to do more of these in different colors with the same blended checks finish!


Finished Project: Emerald Green Check Salt and Pepper Grinder
I chose high gloss top coat for the final protective finish. I love a high gloss shine over the whimsical checks and it's also a great finish for easy clean up.

I hope you are inspired to give this a try!! And thank you for using my clickable links to purchase your paint and supplies! Every purchase supports my business and allows me to continue to create for you!

If you'd like me to create a set of shakers for yourself or as a gift for someone else... I have set up a custom order deposit listing on my website for you right here!
More Inspiration:
I pulled a few blogs from past projects that came to mind when working on this piece! I hope you can use them to draw inspiration for your upcoming project. Here are the additional designs for your inspiration:
Whimsical Salt & Pepper Grinder - the "original" MC inspired design
Whimsical Bread Board - a fun additional to your kitchen decor
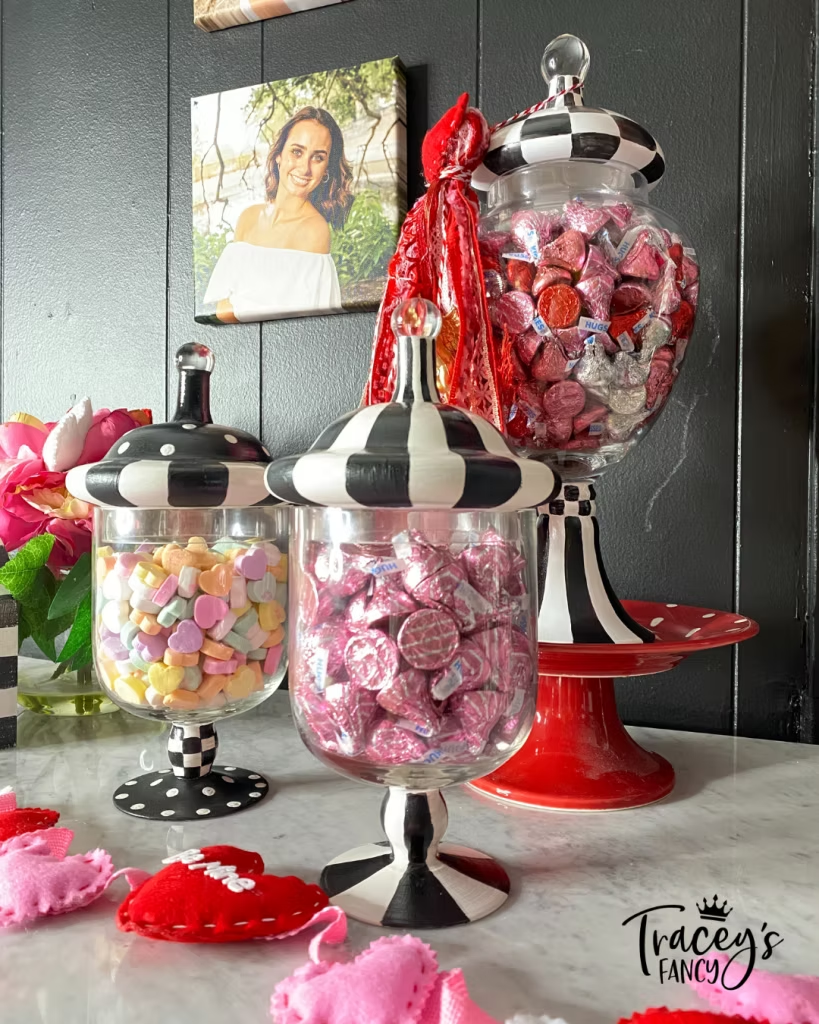
Whimsy Candy Jars - learn to paint a lasting finish on glass
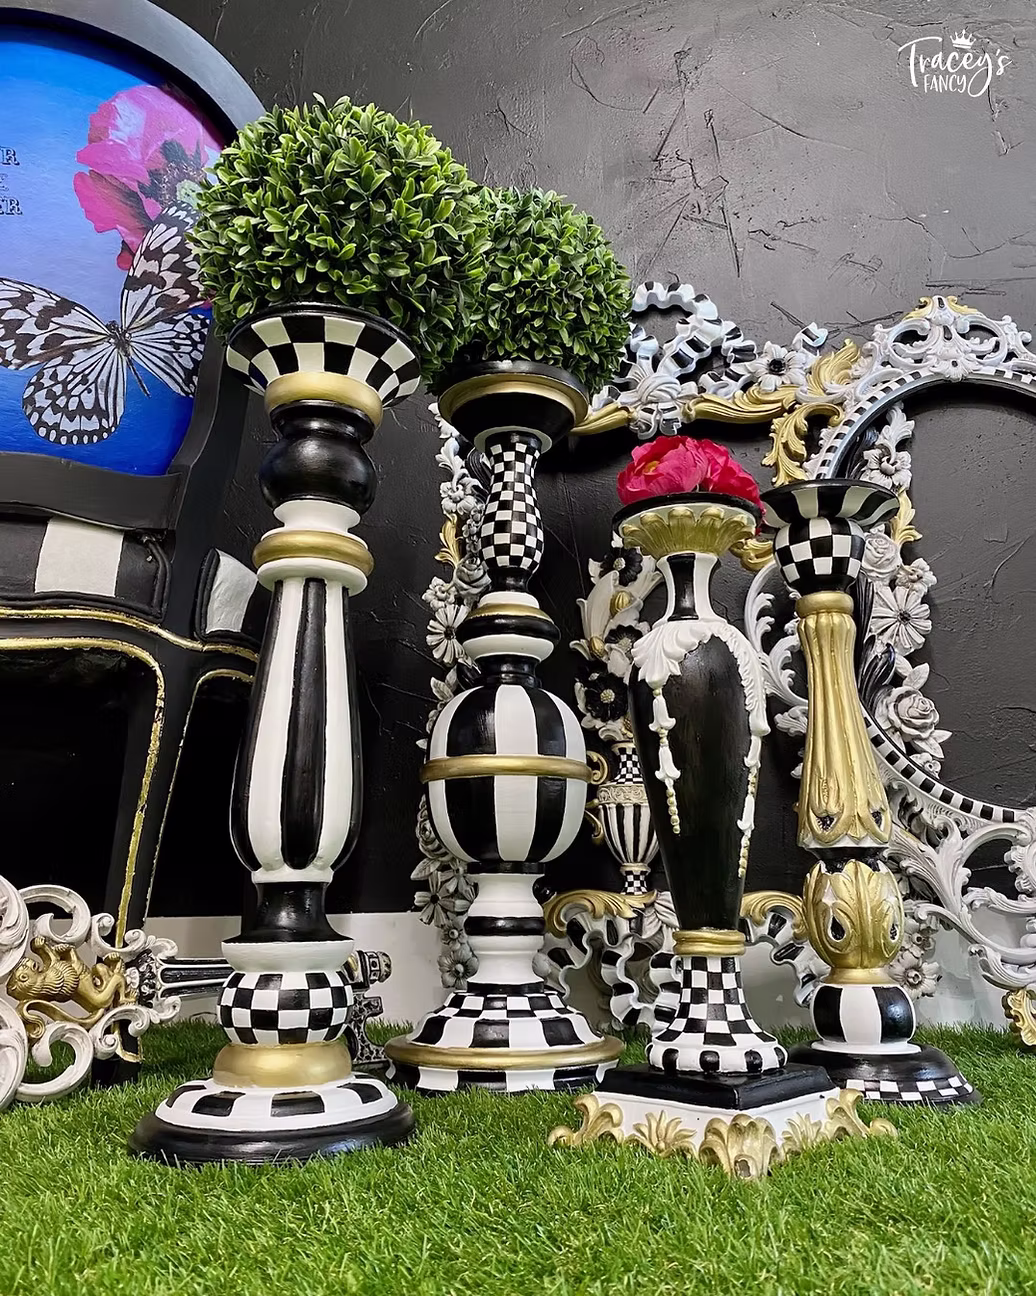
Black & White Checked Candlesticks - more dining table whimsy
I absolutely LOVE this fun whimsical vibe and I've created countless pieces over the years.
Visit my Hand Painted Gift Ideas and Whimsical Home Decor Ideas blogs for many many more ideas!!
Click on any photo below for more up-close photos and all the design details


JOIN ME FOR MORE...with Curiously Creative
If you enjoyed this and want more of a deep dive into home decor and DIY processes, I would love it if you joined my exclusive online creative group, Curiously Creative. I show up LIVE to guide you through every step of updating, upcycling, crafting, and creating on-trend home decor and gift-giving ideas!

Want more fancy furniture & design?

Save & Share on Pinterest!
Please please please share my emerald green salt and pepper grinders and follow me on Pinterest!


Comments