Recycling Wall Art: How to Update Your Space without spending a lot of money!
- Tracey Bellion

- Sep 10, 2023
- 4 min read
Have you ever loved the shape of a piece of home decor but it no longer fit your color palette? You can paint it.....just as I've done this small piece TWICE already! In this blog, I'll show you how to recycle wall art for a fresh, completely new look.

If you are a new reader, hello and welcome to the Fancy Fam! With over a decade of furniture painting experience, I can honestly say that sharing my projects through this blog is still my favorite way to inspire! I've got years worth of fun and creative ways to update your home decor and furniture through paint! If this sounds like something you'd like to have delivered to you every Sunday be sure to sign up for my weekly newsletter here!
Before (and the Before that...)
The original piece was a gold gilded mirror from Hobby Lobby.

I hand painted it to use as a sign in my local boutique booth because it was the perfect size and style for a very small space.

I closed my booth a few months ago and brought this little sign home.
I loved the shape and I felt certain I would find a new use for it.
Supplies Used
This post may contain affiliate links. I could make a commission at no charge to you if you purchase my recommended products. Please read my disclosure here and my privacy policy here.
Recycled Wall Art - Red Rose
Time for a new look. It is the perfect size to compliment a small end table that I'm redesigning. So let's get started!
Stippling a Base Coat
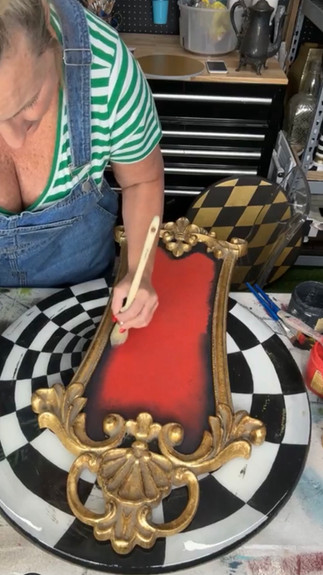
I began by simply stippling a single red coat of Honky Tonk Red over the previously painted words.
I then used a small craft brush to apply a border of black paint (Caviar) around the edge where the red met the gold frame.

Light Blending of Black on Red
While this black paint was still wet I used my French Tip brush to stipple the black and ever so lightly bring it into the red area.
I continued to do this in sections, using my craft brushes to add a bit more black and a bit more red....then stippling them together with the French Tip brush.
The colors red and black are very contrasting and are not the easiest colors to blend. However I love the dramatic vibe they offer together....so stippling is a great way to get that smoky blend!

Applying CLEAR Design Transfers
Once completely dry, I chose a few clear transfers from the Roses are Red transfer design.

I LOVE the giant red roses that this transfer offers and I will be using them on the end table that I mentioned. I wanted to bring the florals into this recycled wall art....so I chose the long stemmed roses as they were the perfect shape to be displayed here.

I also LOVE the fact that these roses are clear and will take on the color of whatever you are painting! They are so easy to work with....simply peel away from the plastic backing, lay in place, and rub to release! Once rubbed on really well I sealed with a single coat of Top Coat in Flat.
I used two of the three long stemmed roses and I LOVE how they give a shadowed soft red vibe against the deep red/black background!

I can see this piece being used in a bathroom or dressing room.....and for some reason I feel it could even pass for Halloween decor! LOL!

For now....I'm preparing to use it as a prop to stage with the crazy cool side table!
So you'll be seeing it very soon in another blog!
The Finished Look: Recycled Wall Art
Remember.....if you love the shape of something...don't toss it! I have no doubt you'll be able to use it again very soon with just a little paint and vision!

This project was fast and easy...taking less than 45 minutes to complete with the help of a heat gun to speed the drying process!
That's the kind of project I like!!!
More Inspiration: Painted Mirrors
Oh.....and yes! You can paint mirrors! I've listed a couple of mirror painting projects for you to visit below!
Boutique Booth Sign - see how the before was created
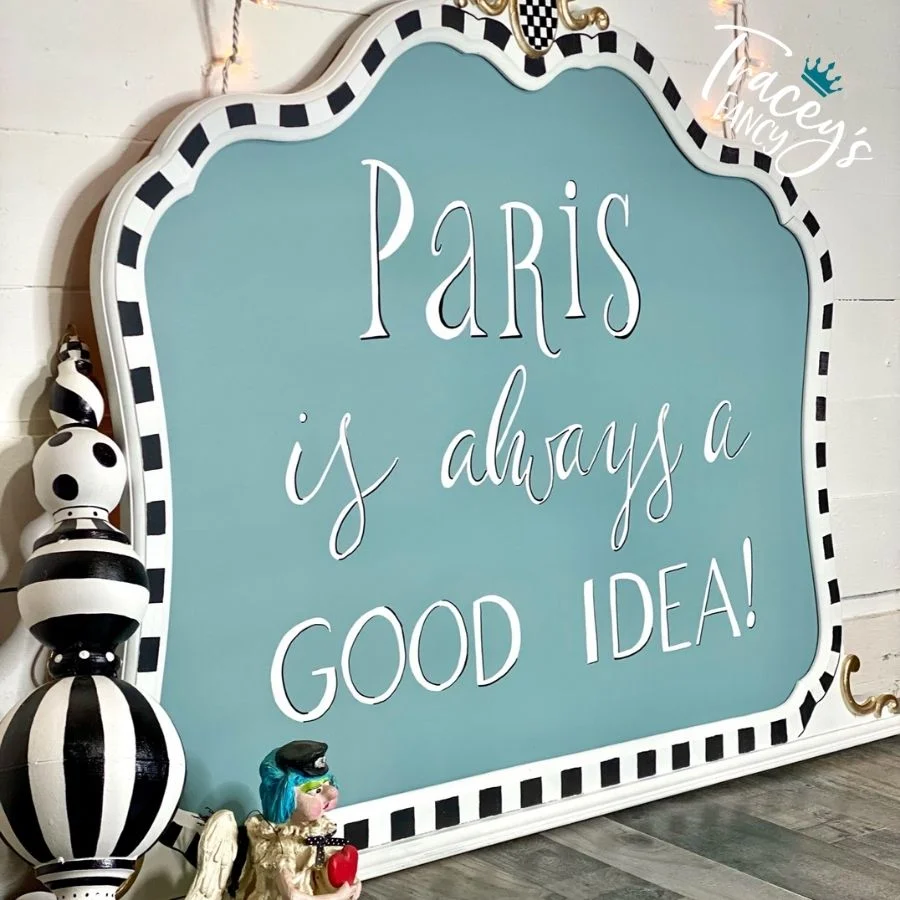
Paris Sign - a sign transformed into a different sign
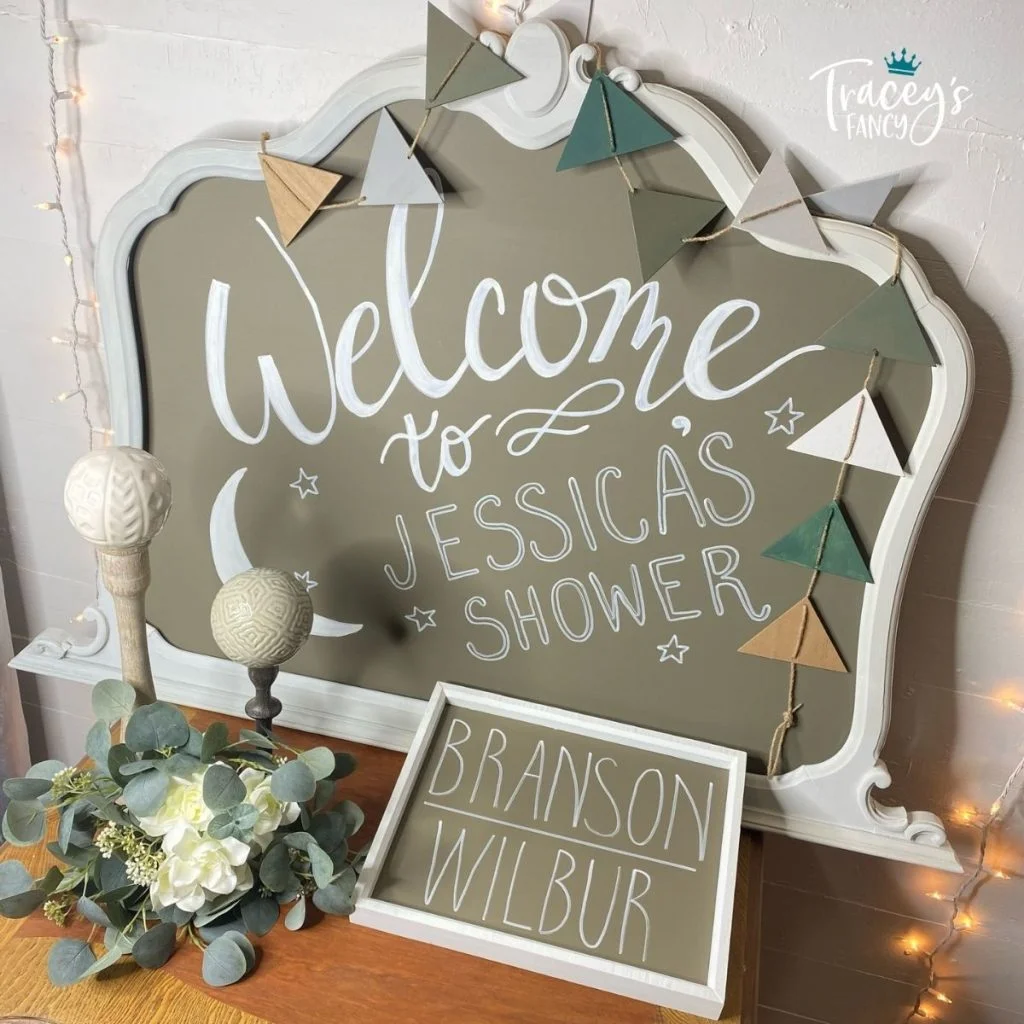
Baby Shower Sign - $5 thrift find transformed
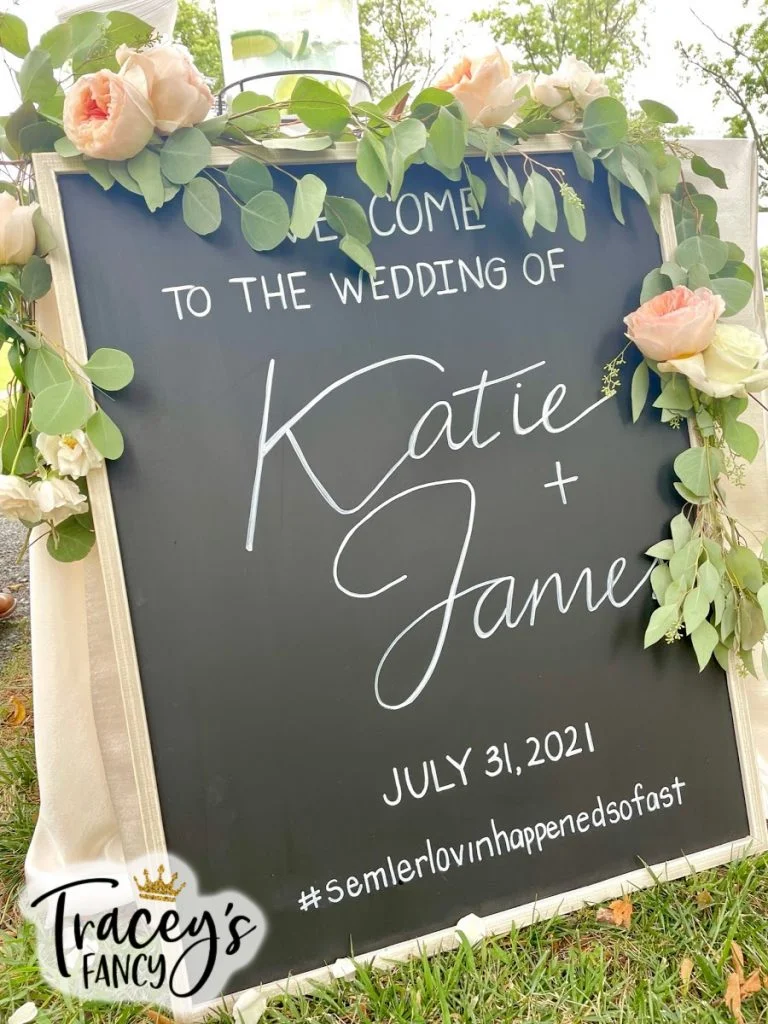
Wedding Sign - wall art to wedding sign
Click on any photo below for more up-close photos and all the design details
JOIN ME FOR MORE...with Curiously Creative
If you enjoyed this and want more of a deep dive into home decor and DIY processes, I would love it if you joined my exclusive online creative group, Curiously Creative. I show up LIVE to guide you through every step of updating, upcycling, crafting, and creating on-trend home decor and gift-giving ideas!
Want more fancy furniture & design?
Save & Share on Pinterest!
Please please please share my soft giraffe print jewelry armoire makeover project and follow me on Pinterest!







Comments